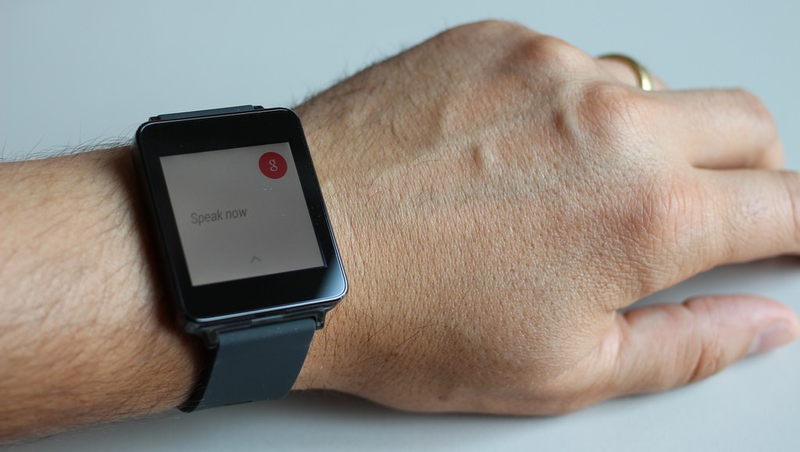
A deep dive into getting started with Android Wear

Picture credit: pestoverde/Flickr
A deep dive into getting started with Android Wear by Michael Hahn
The easiest way to learn how Android Wear works is to install the Android Wear companion app on your handheld device, connect an Android watch or emulator and try it out. The new Android Wear companion app completely replaces the earlier Android Wear Preview app.
The Android Wear companion app has the following capabilities:
• Tutorial that introduces the wearable UI
• Demo cards that show the kind of notifications you can create for your own application.
• Help with suggestions and articles
• Options for extending Google Now, Location Services, Google Fit, and Contact Recognition to your wearable
• Options for enabling voice services for selected wearable actions
I Have an Android Watch
If you have an Android Watch, you simply pair it with your handheld device, install and launch the Android Wear companion app, and try it out. If you don’t have a wearable device yet, you can create a wearable emulator using the AVD tool in your development environment.
Set Up the Development Environment
To try out Android Wear using an emulator, perform the following tasks:
1. Install the Android Studio Beta
To try out Android Wear using an emulator, you only need the Android Tools. However it is much easier to install a full IDE than individual components. You can use either Eclipse or Android Studio as your IDE, but I recommend Android Studio because the sample applications are Studio projects. Additionally, the Android Studio Beta includes improved Android watch emulation.
2. Install the Android Wear system image and support packages using the Android SDK Manager
• Android L(API20, L preview)
• Android 4.4W (API 20)
• Android SDK Tools revision 23 later
• Android Wear ARM EABI v7a System Image 20 or later
• Android Support Library 20 or later
• Android Support Repository 6 or later
3. Set up an Android Wear emulator using the Android AVD Manager
Make sure to check the Keyboard option. You might need it later.
4. Start the emulator
Initially the emulator screen shows the time, a disconnected cloud icon, and a phone icon.
Start the Android Wear Companion App
1. Install the Android Wear companion app on your handheld device

2. Enable USB debugging on your handheld device
Your handheld device likely disables USB debugging by default, and the option to enable it can be hidden as well. For Samsung Galaxy, you must open Options, select About Phone, and then click Build Number several times. The Options menu then includes Developer options, where you can enable USB debugging.
3. Connect your handheld device to the computer with a USB cable
Accept any warning or security messages displayed on either the handheld device or computer.
4. Verify that the handheld device successfully connected to the computer using the following command:
./adb devices List of devices attached a1b2c3d5 deviceIf a device is not displayed or it displays with an error such as unauthorized, you must resolve that problem before proceeding.
Note: The adb executable is located in the Platform Tools directory where your Android SDK is installed.
5. Open TCP port 5601 on your computer. The Android Wear Emulator uses this port to communicate with the handheld device
./adb -d forward tcp:5601 tcp:56016. On the handheld device, launch the Android Wear app
The first time you launch the app, an onscreen message reminds you that Android Wear is not a notification listener… Follow the onscreen instructions.
When the Android app successfully pairs with the emulator, the action bar displays Emulator Connected. The menu in the action bar lists the options you can invoke.

On the emulator, the cloud icon disappears, and the current temperature is displayed. As new notifications occur, they are displayed.

You can swipe vertically to scroll through other notifications, swipe to the right to delete the current notification, and swipe to the left to view any associated actions. The notifications displayed on the wearable are the same as those listed in the action bar pull-down on the handheld device.
Next Steps
You are now up and running with Android Wear, and ready to move on to your first wearable app. Initially, you write an app that can display notifications and receive user inputs from a wearable device, but runs code on the handheld device only. Later you can develop more powerful software that runs Android code on the wearable device as well.
Building with Android Wear already? Check out the cool things we are doing with Strap Metrics that help you better understand how your users are using your app – straphq.com
The post How Does Android Wear Work? appeared first on Strap.


Leave a comment
Alternatively
This will only be used to quickly provide signup information and will not allow us to post to your account or appear on your timeline.